It’s Tomato Season

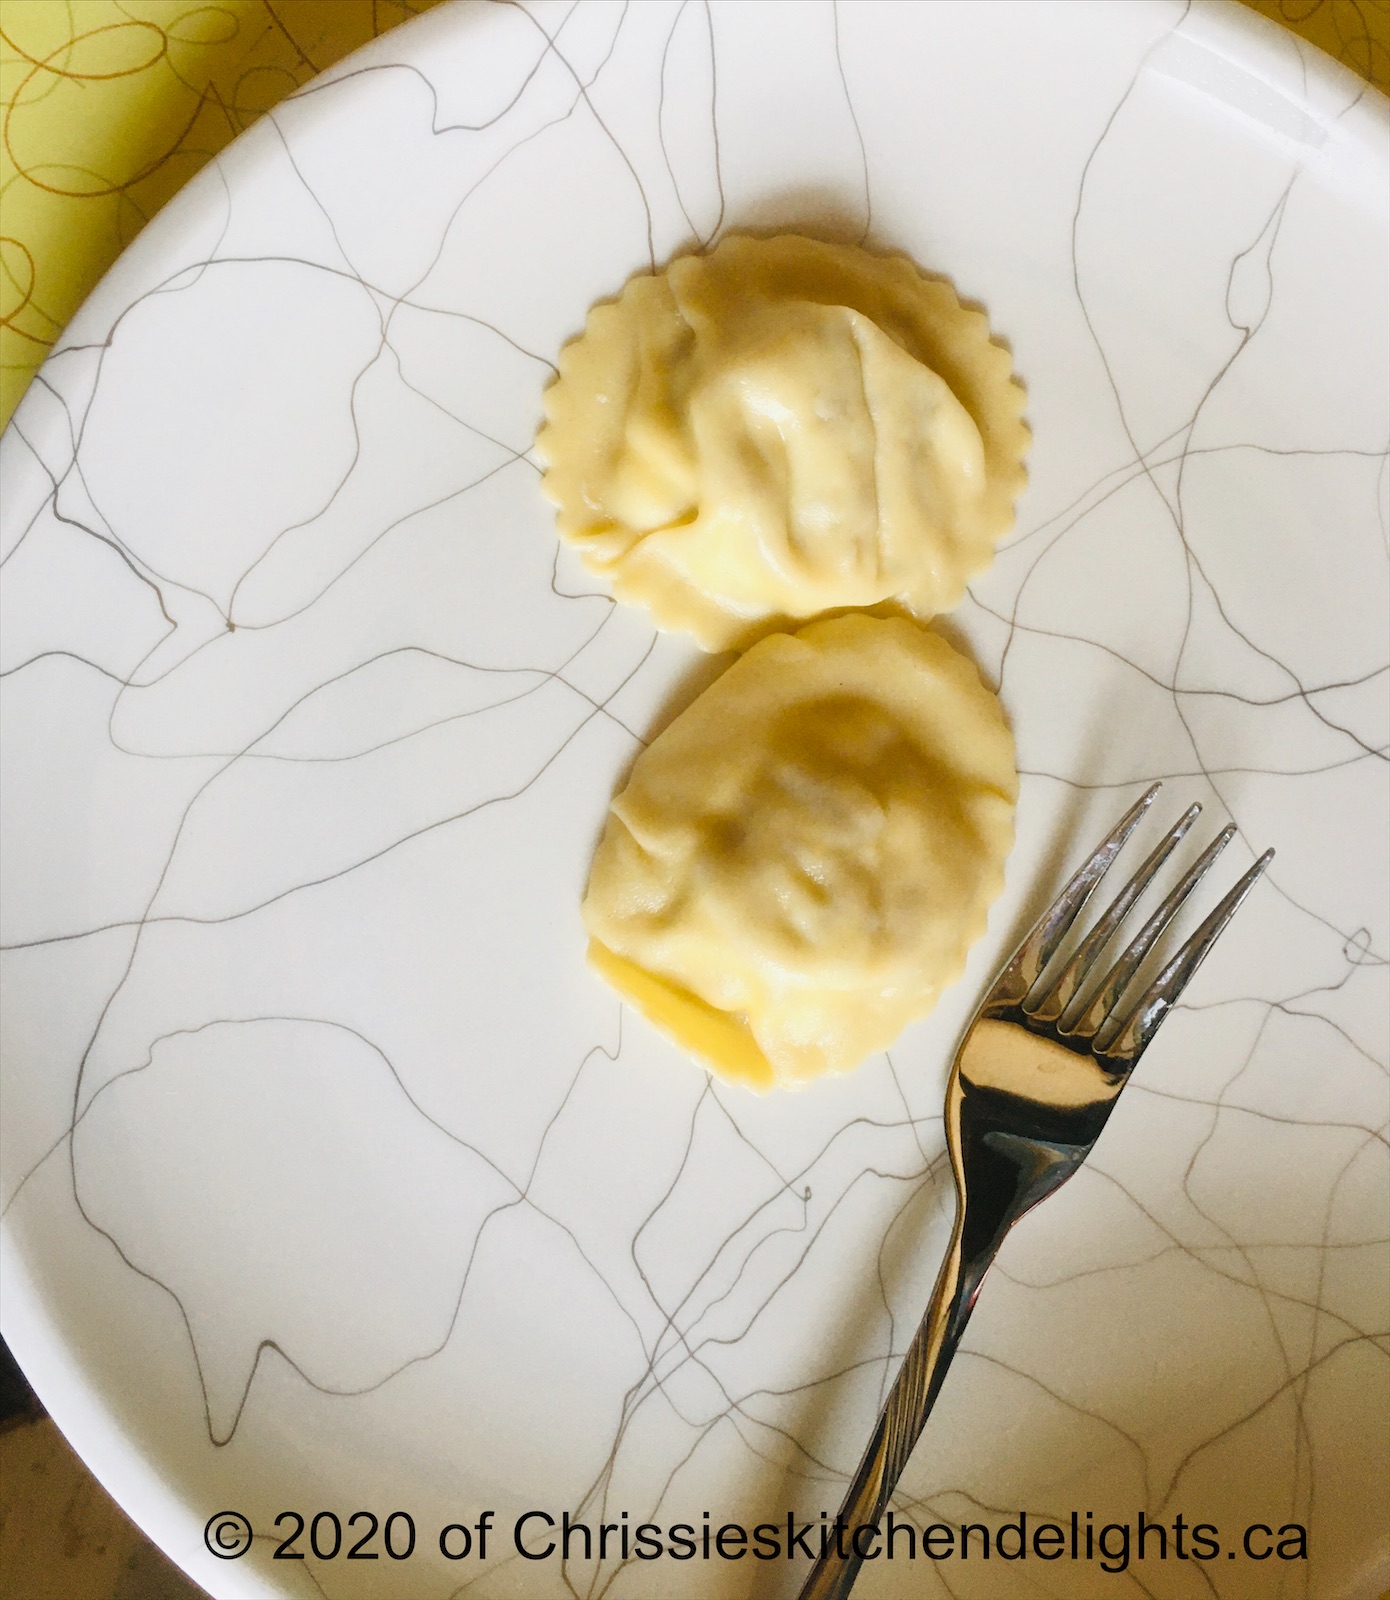
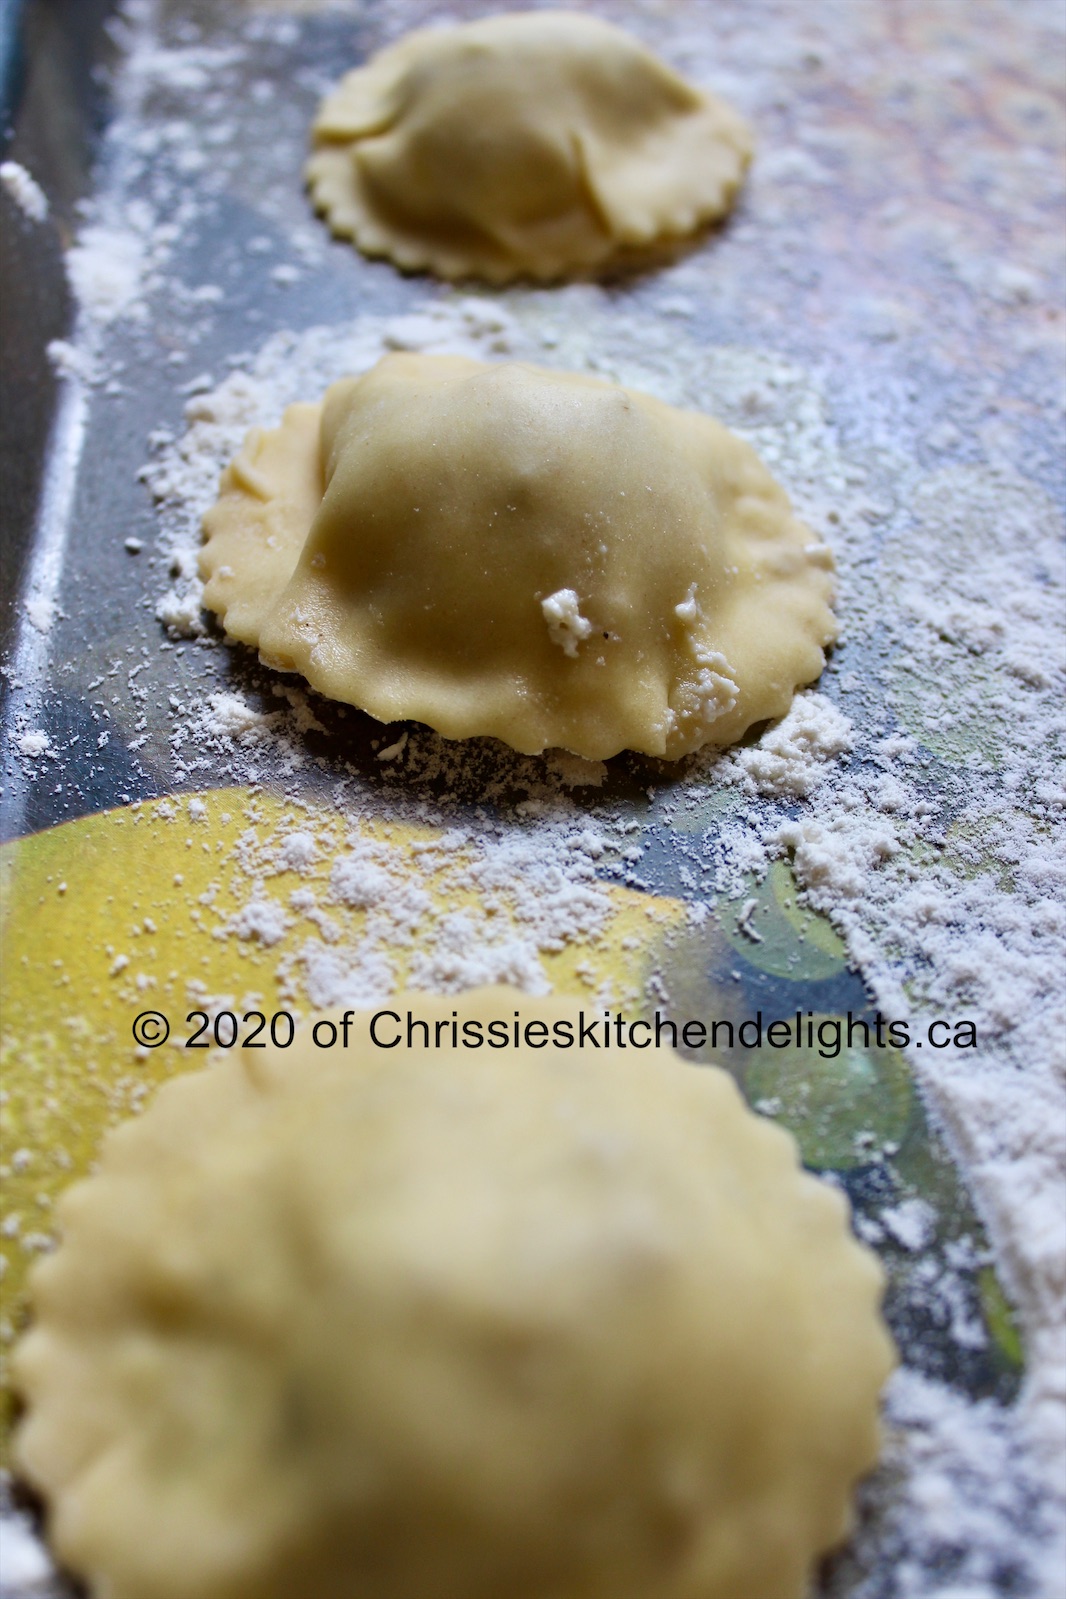
I’ve always been a fan of making things from scratch, for the most part, rather than purchasing already prepared, I like knowing what’s in what I’m buying. I like ingredients I can pronounce, and not have to google search. Just like everyone else, time is precious, and sometimes convenience wins the day. When I’m working, there isn’t always time to come home prepare dinner that without cutting a few corners. I do, for the most part, use Sundays for meal prepping, washing, chopping and freezing veggies for the week, washing veggies for salads, and making what I can in advance and freezing such as ravioli, and gnocchi to be cooked later, or soups to be heated and served.
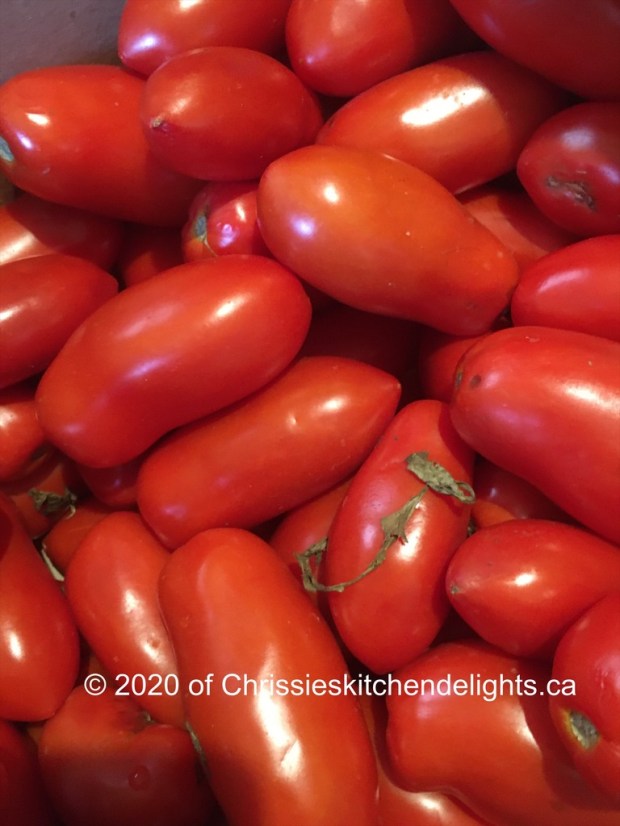
I learned early on that I like making my tomato sauce rather than buying, for one I don’t know why but many sauces have sugar in them I’m not a fan of sugar in my sauce. And two, I also find the sauces are too salty-no thanks. I started buying canned tomatoes and passata and making my sauce, which is great but I wanted to try to make sauce from scratch. So last year, I bought a 25 pound case (1 bushel) of Roma tomatoes, I was up to my elbows in tomatoes, and I learned that there’s a lot more to canning tomatoes than I expected, you need mason jars-and you need to sterilize them, you need citric acid, and you need a lot of patience and time. I completely send out my respect for all my friends who make 8 bushels or more. Yikes! Since I wasn’t canning tomatoes last year, as I wasn’t as prepared as I thought I was, I stored them in zip-seal bags and froze them. This year, I have my jars and citric acid and I’m sterilizing jars to try canning for the first time. A Google search has helped me figure some things out, and I’m on my first pot of sauce, I still have tomatoes for another batch (I’m also trying to “sundried” tomatoes on the stove top-so far it’s going well).

Instead of sharing a recipe with you, because I feel everyone has their own taste in sauce, I’ll tell you the steps I took to make my sauce.

Items Needed:

  • 25 pound bushel/case of roma tomatoes
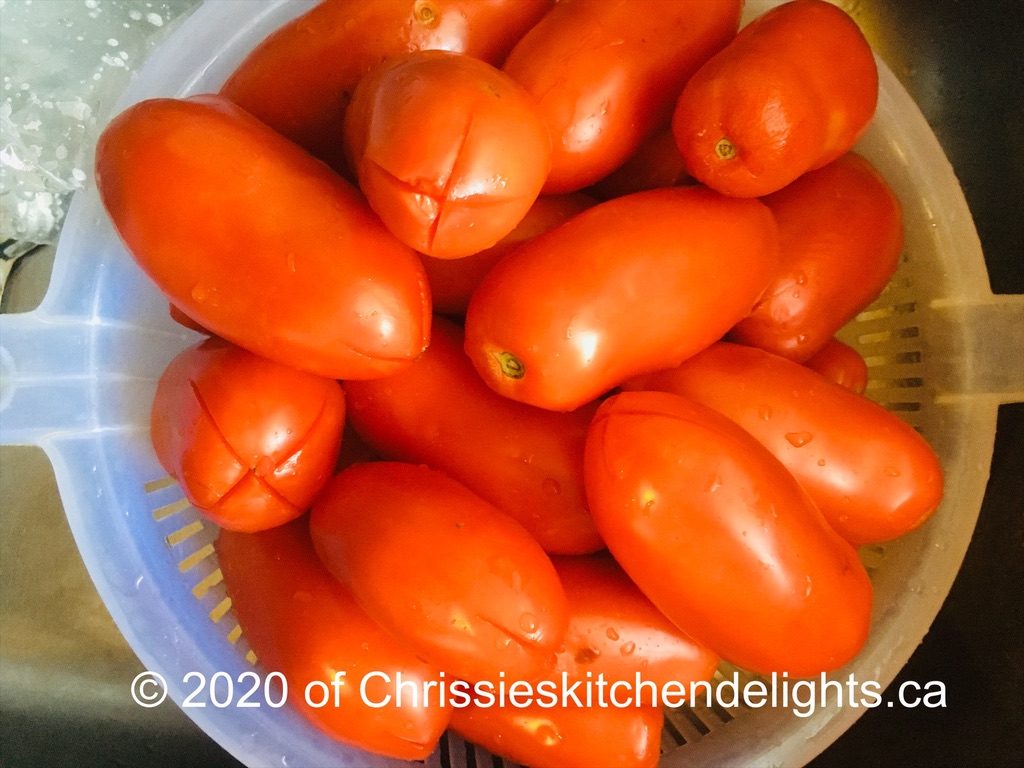
  • wash and score the bottom of the tomatoes
  • pot filled with boiling water
  • food mill (optional)
  • bowl
  • immersion blender
  • bowl with ice water
  • large stock pot
  • mason jars
  • citric acid
  • stock pot with boiling water

Steps:

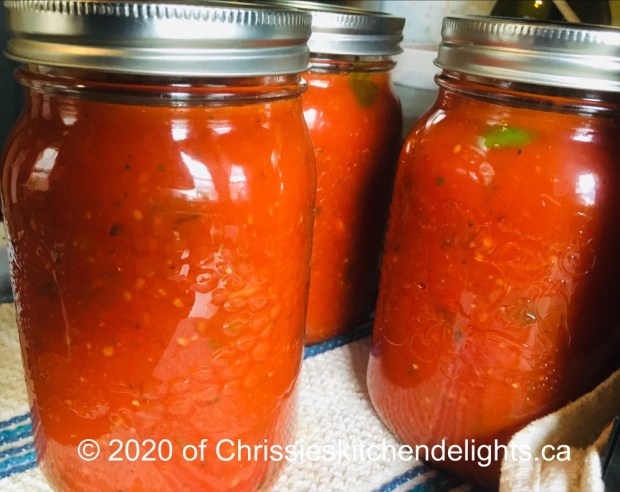
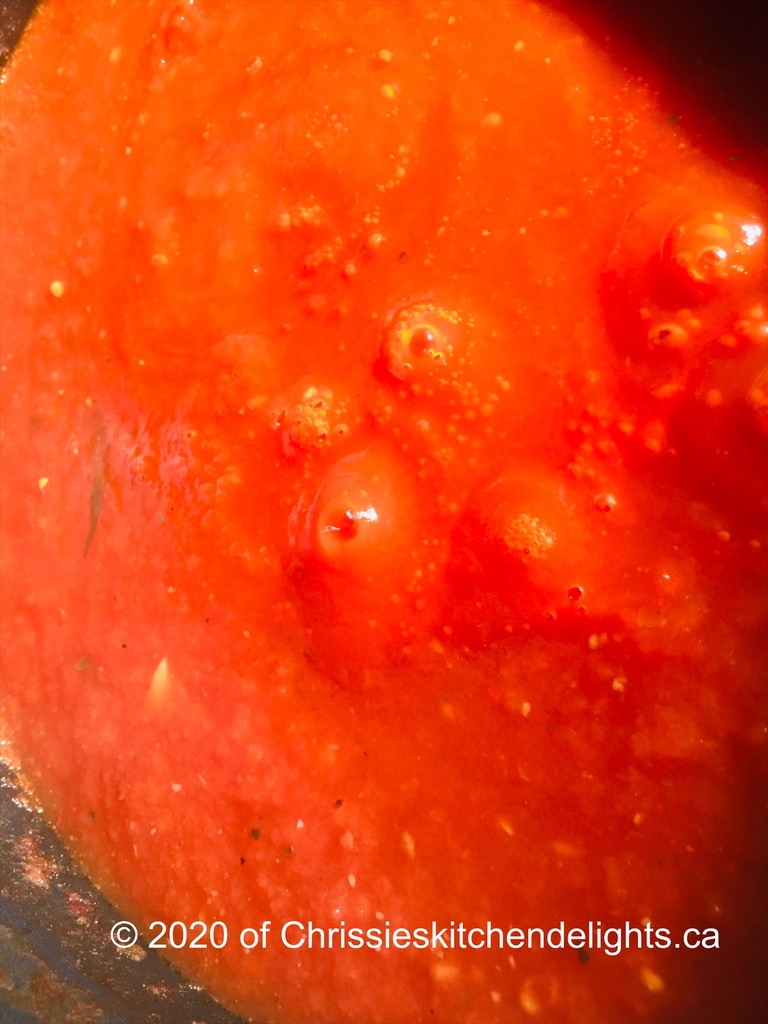
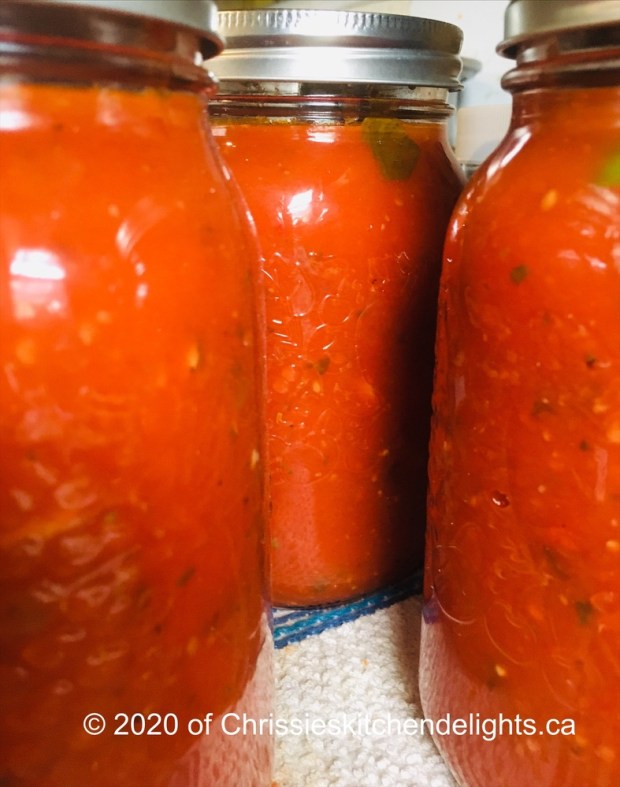
Remove any tomatoes that are spoiled and throw out. Thoroughly wash tomatoes, score the bottom of each tomato with an ‘X’ add a few tomatoes at a time to a pot of boiling water, let them sit for about a minute, then remove and add to ice water. Then starting at the bottom you should now be able to peel the tomatoes easily, if it’s not peeling easily, add it back into the water for a few seconds. *Once tomatoes are peeled, you can remove seeds by putting them through a food mill, over a bowl (or directly over the pot you will cook the sauce), (seeds will remain in the food mill to be discarded). I will add that I thought I had a food mill but didn’t, I’m okay with seeds in my sauce, so I did break down the tomatoes with my hands and added them to my pot. I let them cook and then used my immersion blender to break down the tomatoes into sauce. I let the sauce simmer on low heat for several hours to remove excess water from the tomatoes. I seasoned the sauce with olive oil, garlic, fresh basil, dried oregano, salt, pepper, chili flakes, and fresh parsley (added at the end). Let the sauce simmer until you reach your desired consistency. Boil your mason jars and lids, to sterilize, remove from water, add citric acid, I also added a fresh basil leaf to the bottom of the jar, then added the sauce, place lid and once it is filled add to a pot of water with at least one inch of water covering it until it seals. If the lid doesn’t seal, refrigerate the jar for immediate use. *I used a 1L mason jar and 1/2 tsp of citric acid per jar. Once done, I had seven jars of sauce. Not bad for a first-timer, I look forward to doing this again next year. Enjoy.

Do you have any tips on making sauce you like to share, drop a message?

Chrissie xo

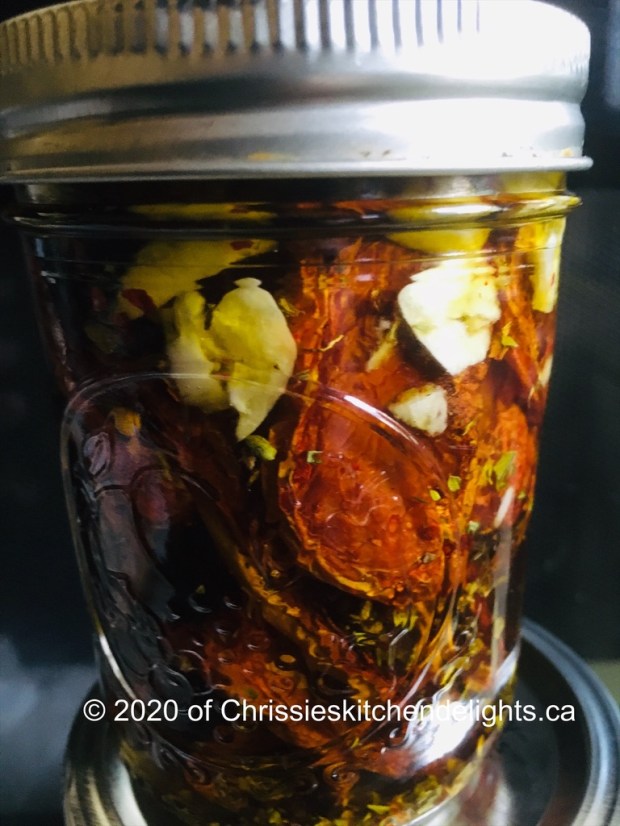
As for the ‘sundried’ tomatoes, they turned out pretty good. I have dried them and then marinated them in salt, chili flakes, garlic and dried oregano. I’m going to let it marinate before I try it.

Summer in the City

A summer BBQ isn’t the same without a burger, in my mind anyways. So I decided to try making some stuffed burgers. I was in the mood for some jalapeno cheddar stuffed burgers and also wanted to try tomato basil mozzarella stuffed burgers, sadly I wish that one had more flavour so I’m going to tweak that one a bit. So right now I’m going to focus on the jalapeno cheddar burgers. It’s easier than you think and so worth the effort.

Recipe:

  • 2 pkgs 375g lean ground beef
  • several dashes of worcestershire sauce
  • grated cheddar cheese
  • 2 small diced jalapenos
  • 1 egg
  • 1 tsp minced garlic
  • black pepper to taste
  • 1 tsp paprika
  • 1/2 tablespoon chipotle pepper puree

Directions:

In a large bowl add all ingredients and mix together well. I like to use a burger press, so I will put plastic wrap to line it and form the burgers if I’m making them in advance and freezing them. I use a scale to weigh the meat patties so they are the same size, I add the shredded cheese and diced jalapenos, I add the top, making sure it is all covered and even. I then flatten the burger into the press so that any spot is filled.

I salt the burger patty when I am ready to cook it as it helps create a crust and doesn’t dry out the burger. You can BBQ it or pan fry them, I wouldn’t add any oil to the pan if frying. You can sautee mushrooms and melt more cheese on top of your burger, I’m not an onion person at all but you can also sautee onions or diced onions. Whatever you like on your burger. Hope you are staying safe and enjoying your summer.

Chrissie xo

Risotto/Arancini

One of the best arancini I’ve ever had was at the Casa Loma Symphony in the Garden. It’s a wonderful evening listening to the Toronto Orchestra under the stars at Casa Loma, a historical castle in the middle of the city and one of my favourite places. Every Tuesday, during summer months, there’s a symphonic concerto of different composers. It’s one of my favourite events in the city and getting increasingly more difficult to get tickets to. This year with the pandemic causing all major events/concerts/gatherings to be cancelled, I’m feeling nostalgic for the last time my best friend and I were at the symphony and enjoyed dinner in a beautiful garden on the grounds of a castle. While the arancini on that evening was a seafood centre, I’ve opted for a beef filling. I can’t wait for next summer and (hopefully) another evening under the stars listening to the symphony until then, I’ll reminisce.

Risotto Recipe:

  • 2 cups arborio rice
  • 1/2 cup dry white wine
  • 5 cups stock of your choice
  • 1/4 cup asiago cheese
  • 1 tablespoon olive oil
  • 2 tablespoon finely diced onion
  • 1 tablespoon minced garlic

Directions:

In a saucepan heat your stock on low heat. In another saucepan on medium-high heat, add olive oil, and onions and let saute lightly, add garlic and mix. Now add your arborio rice and stir coating the rice with the olive oil, garlic and onions. When slightly toasted add white wine and a ladle at a time of stock and stir the risotto. You will continuously stir the risotto and adding the stock until the risotto is cooked. Add the asiago cheese and stir. Finish off with some parsley. Enjoy.

Arancini Recipe:

  • Leftover risotto
  • 1 pound ground beef
  • 1/3 cup chorizo finely diced
  • 1/2 cup diced carrots
  • 1/2 cup black olives
  • 1/3 cup strained tomatoes
  • 1 tablespoon minced garlic
  • 3 tablespoons finely diced onions
  • 1/2 teaspoon salt
  • 1/8 teaspoon black pepper
  • 1/8 crushed chili flakes
  • 1/2 tablespoon green onions
  • 1/2 tablespoon parsley
  • 2 tablespoons olive oil
  • 3 sprigs thyme
  • 1 teaspoon basil
  • 1 teaspoon dried oregano
  • 1/3 can of tomato paste
  • 1 cup finely diced green and red bell peppers
  • breadcrumbs for rolling
  • vegetable oil for frying

Directions:

In a large saucepan, add olive oil, onions and garlic stirring to saute. Add chorizo, ground beef, bell peppers, salt and pepper. Breaking up the ground beef while mixing. Add olives, carrots, tomato paste, strained tomatoes, basil, thyme and oregano. Stir and let cook. Check seasoning is to your taste. Let cook on low heat with the lid on for approximately 30 minutes.
Take a tablespoon of rice in the palm of your hand, while flattening make a little cup to fill with arancini with meat filling, close the rice back keeping the meat inside the rice ball. Roll the rice ball in the breadcrumbs. Your rice balls will be approximately the size of a tennis ball, you could make them smaller or larger, the choice is yours. Once all have been rolled you can start frying them or you can refrigerate them until you’re ready to start frying. You will fry on each side until golden brown, then add to a paper towel-lined dish until ready to plate. Enjoy.

Chrissie xo

Prep Day

I like to take a day, usually Sunday and prep meals for the week. This can consist of making a couple of meals and freezing them for when I need them or marinating chicken before freezing for stir fry or fajita night. Things such as soups, gnocchi, bolognese sauce, pasta sauce. I also will slice and dice vegetables to cut down my meal prep time on weekdays or start a stir fry or salad.
Most days when I get home from work, the last thing I want is to figure out what’s for dinner and spend time prepping. Before going to work in the morning, I just remove it from the freezer and put it in the refrigerator to defrost. I’d rather take it from the freezer and heat it, then start a meal after a long day. Maybe while a pot of rice cooks or pasta boils, or potatoes boil for some creamy mashed potatoes.
However, during this pandemic and being off work many of us have nothing but time. I no longer use my Sundays for my prep days, but I still like to prep my vegetables. It helps keep track of the vegetables in your crisper in need of use before wilting and what I’m running low on. I knew I wanted to use my remaining cabbage for coleslaw and egg rolls. Coleslaw is a perfect summer salad to accompany a tasty Chinese take out inspired egg roll.

Recipe:

  • 3 cups cabbage finely shredded
  • 2 carrots julienned
  • 2 celery stalks julienned
  • 2 tablespoons green onions finely sliced
  • 1/2 green pepper finely sliced lengthwise and cut in half
  • 1 package large egg roll wraps
  • 1/2 tablespoon finely minced ginger
  • 1/2 tablespoon finely minced garlic
  • 1/2 tablespoon chili and garlic sauce
  • 1 teaspoon sesame oil
  • 1 1/2 tablespoons soy sauce, divided
  • 4 dashes fish sauce, divided
  • 2 mild pork sausages, casings removed
  • vegetable oil for frying
  • small bowl of water

Directions:

Julienne, mince and slice all vegetables before starting. Remove sausages from casings. Add wok to stove on medium-high heat. Add 1/2 teaspoon sesame oil, add ginger, garlic, chili garlic sauce, stir and add cabbage, carrots, celery, and green peppers and stir together. Add 1 tablespoon of soy sauce as well as two dashes of fish sauce and stir together. Keep stirring as veggies cook, remove from heat after a few minutes, drain liquid. Add remaining sesame oil, sausage, fish sauce, green onions, cook all together breaking up the sausage. Drain the liquid and remove from heat and let cool.
To fill egg rolls, place egg roll wraps in front of you, add a tablespoon of meat filling, then 1 1/2 tablespoon of veggie filling on top, lightly brush the three sides with water, fold the side without water over first (see image above), press sides down to seal, then fold the top over towards you, again sealing the top and the sides. Continue until you run out of wrappers. Fill a pan with vegetable oil halfway. When the oil is hot, add egg rolls carefully. when browned, flip egg roll on the other side until golden brown. Enjoy.

Chrissie xo

Never Have I Ever

I always want to challenge myself in the kitchen, create something tasty and wonderful is always such a great experience for me. There are some things I’ve not yet tried that are on my bucket list, things such as souffles. I remember as a child my mother would make incredible souffles. I swear one day, I’ll knock one out and hopefully, it will be as wonderful as hers.

But never have I ever made fresh pasta, that is until last week. I was overcome with the urge to make ravioli. OMG, it was such a rewarding experience. I know most people don’t get excited over such things, but I feel you need to celebrate the little accomplishments and joys. I won’t lie, making fresh pasta is hard work, but the end result is fantastic. You won’t regret it. I promise.

Pasta Ingredients:

  • 1 pound (approx. 3 1/3 cups) flour (I used “00” flour, which I was lucky to find during a pandemic where everyone is baking up a storm and flour is hard to find)
  • 5 large eggs
  • 1/4 cup of olive oil
  • a large pinch of salt

Directions:

Place your flour on your workspace, making a large well in the centre. You want to keep you well walls high, but your well large enough to contain your eggs and olive oil. Trust me. I didn’t make my well large enough and had a breach of eggs over my well wall. LOL. I’ve learned my lesson there. That’s also why there are no photos of this process. I was trying to contain my eggs. Add your eggs, olive oil, and salt. With a fork you’re going to start by whisking the eggs with the flour, slowly incorporating it all together. Once the flour and the eggs are mixed make sure to get all the little bits of flour on your workspace. You’re now going to mix the ingredients with your hands, making sure to knead the dough as you go for roughly 10-15 minutes. Wrap it in plastic wrap and let it rest in the refrigerator for a minimum of 30 minutes. Now you can work on your filling.

I made a filling of meat and cheese. You can make a cheese filling, or a mushroom filling if you prefer a vegetarian option.

Meat & Cheese Filling:

  • 3 large pork Italian sausages removed from their casings
  • 454 g of ricotta cheese
  • 1/4 cup of parmesan cheese
  • 1/4 cup of finely diced onion
  • 3 cloves of garlic
  • 2 large eggs
  • **the following herbs and spices are to taste, so use what you like in the quantities you find palatable
  • salt, pepper
  • basil (fresh, chopped or dried)
  • crushed chili pepper flakes
  • cayenne (optional)
  • oregano (fresh, chopped or dried)
  • parsley (fresh, chopped or dried)

Directions:

Place a large pan on the stove on medium heat. Remove sausages from their casings, into your pan breaking up the sausage. Add your onions, garlic, salt and pepper. Make sure to stir all together while cooking, add your herbs and continue cooking. Once cooked, be sure to drain the fat and add the mixture to a bowl to cool. Once cooled, add ricotta, parmesan, 2 large eggs and mix everything together. You can set it aside and now you’re ready to roll your pasta dough.

I used my KitchenAid Pasta Attachment to roll out the dough. I do suppose you can roll it out by hand, with a rolling pin, but it’s so much easier with a pasta roller.

Add water to a large pot, add a good heap of salt to your water and let boil.

Cut your dough into four pieces and rewrap the dough not being used. Add flour to your workstation and knead your dough again for a few minutes, add some flour to each side of your dough to keep it from sticking to your rollers. Starting at the widest setting, run your pasta through once. Take the pasta on the back of your hand, now you will fold your pasta into three like a letter/envelope and run it through your roller again. Now you can go to the next setting on your pasta roller. I did run it through each setting twice and I used settings one through four as that was my desired thickness.*If your pasta sheet gets too long, you can cut it in half. Lay your pasta on your workspace and brush one side with water, add your filling and add the other half of your pasta sealing it closed. You want to eliminate as many air bubbles as possible as the filling may seep out while boiling the ravioli. I used a cookie cutter to shape my ravioli which is just under 2 1/2 inches in diameter.

Add your ravioli to the boiling water. Once your ravioli is boiled it will rise to the surface, remove and add to the sauce of your choice. Enjoy.

When I ran out of filling, I had leftover pasta dough and decided to make and dry fettuccine for another day. I’m looking forward to that.

Chrissie xo